
Need advice? Call our order support line: 01706 260700
Change sector:
Trade
Commercial
How-to guides
Need advice? Call our order support line: 01706 260700
roofing
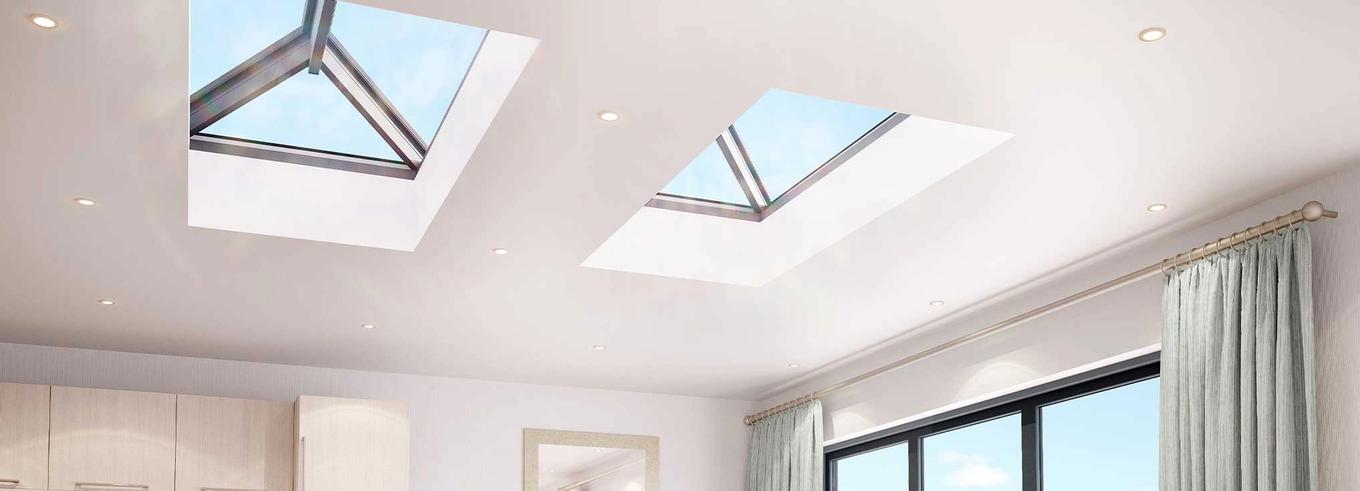
How to Fit Roof Lanterns
We’ve made our roof lantern kits super easy to assemble and fit, so they can be installed in as little as 40 minutes.
All packages are colour coded, so it’s really straightforward. Stock sizes and colours are available on next day delivery too, so the external works and flat roof can be completed beforehand, and measurements doubled checked before you order.
Before you start, make sure that the outside of your verge is exactly the same size as your roof lantern.
Ringbeam
Unpack the red taped pack 1 and lay out the 4 ring beam profiles on your verge. Insert the small and large corner cleats, silicone the ends of the corners, square up and close the corners and screw the cleat screws into the pre-drilled holes.
Next, silicone both sealant channels on the underside of the ringbeam by turning it over or by marking the channels for the bead on to your verge. Once the silicone seal has been applied on the underside of the ringbeam, fix the ringbeam down on to the verge using the wood screws supplied in the pack.
Ridge
Unpack the yellow taped pack next and set aside the top cap and pressure plate. Keep the beam.
Hip Beams & Rafters
Unpack the green taped pack and, if you have a Style 2 lantern with rafters, the blue taped pack. Set aside the top caps and pressure plates. The hip beams have a thermal break already attached and a hook loosely fitted at the top of each of them.
Offer up all four hips to the ridge, hooking them on, through the end slots of the ridge beam. If you have a style 2 roof lantern, position and fix the rafters at the same time as the hips.
Then lift it into position inside the ringbeam and ensure the ridge is level and all joints are neat and positioned. Screw down through the thermal break, into the ring beam at each corner. Make sure everything is neat and correct tighten the machine screw at the top of each hip to secure the hook in its final position.
Fit the Glass
Insert the ringbeam gasket. Fit the hip and rafter end caps to support the glass. Silicone the internal top edge of each glazing trim and fix to the glass units with the drip on the underside of the glass. Carefully place each glass unit into position. Fix the ridge pressure plate, through the thermal break with screws provided, then press on the ridge cap using a plastic hammer.
Next, fit the hip and rafter pressure plates and seal where they meet the ridge. Fit all top caps, with a plastic hammer and seal where they meet the ridge. Check that all the end caps on each hip and rafter are correctly fitted and snap the screw caps shut.
Finally, fix the external end caps to the ridge, give the glass a good clean and that’s that – a good job done!

Aluminium windows, doors and rooflights in any colour, delivered direct to site fast.