
Need advice? Call our order support line: 01706 260700
Change sector:
Trade
Commercial

How To Install French Doors - Step By Step
Introduction
Can you install your own French doors? It’s a question that our customers have brought up more than once. Some of them are looking to reduce the cost of their new doors, while others are DIY enthusiasts who love getting their hands dirty.
It’s possible and can save you money, so if you’re working with a tighter budget you may want to consider it. However, we would recommend against it. From our perspective, it’s always best to get a professional in.
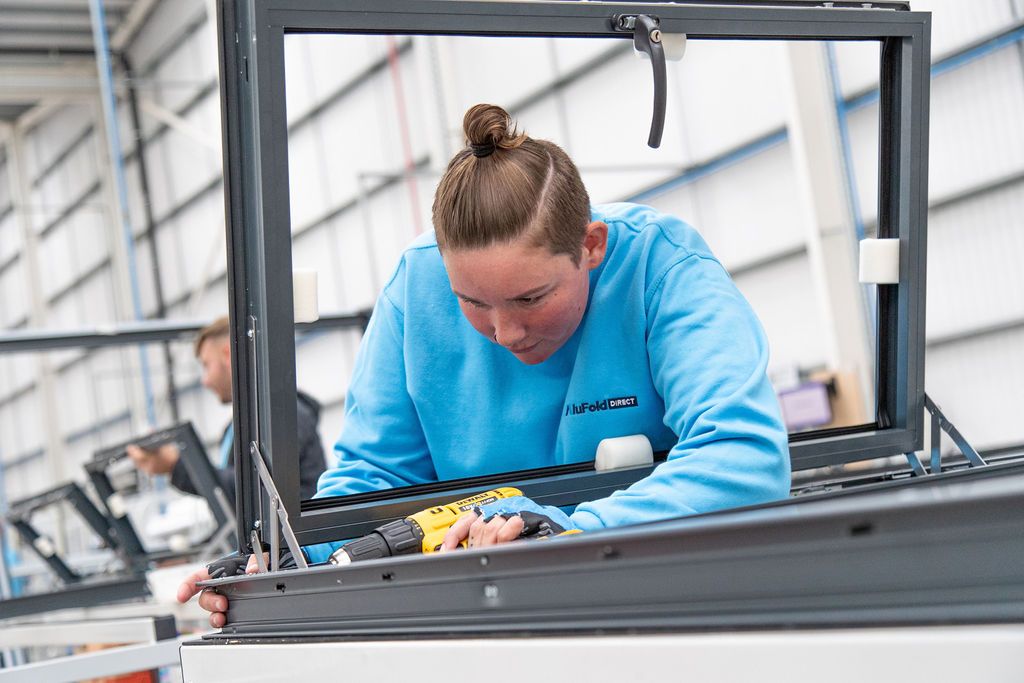
It may cost more, but it’ll save you a lot of hassle. Unless you’re a skilled and experienced home improvement expert, installing your own French doors can be more trouble than it's worth. We appreciate though that there is real satisfaction to be had from doing it yourself. If you’re determined to have a go, here is our step-by-step guide to fitting French doors.
Step One: Remove Your Existing Doors
Before you do anything, triple-check all the measurements and that the sizes are correct. This is the Golden rule of the industry. A single typo can result in the doors not fitting in the aperture properly and it’s best to spot any errors before getting stuck in.
The first practical step is removing the previous set of French doors. This is the most straightforward part, but get a friend to help you. Your doors could be heavy and having one fall on you isn’t a fun experience.
With the door out, make sure that the surface of the opening is as smooth as possible. If there’s any debris in there, clean it out. You’re now ready to put the new door in.
Step Two: Placing Your New Doors
Next up, prepare the external cill (if you have one) and bed it down with silicon. Dam the back edge of the cill with silicon and this way, when the door is installed, it’ll be fully weatherproof. Then ease the doors into the opening. Again, this is a two-person job due to the size and weight of the doors. If you attempt this on your own, you’ll wind up with bruises and an expensive repair bill.
Step Three: Fixing The Doors
Check that the doors are level, then finish the job by fixing them in place. You’ll have a set of instructions on where to place all the fixings. Once all the fixings are in position, check that the doors open and close smoothly.

Step Four: The Glazing
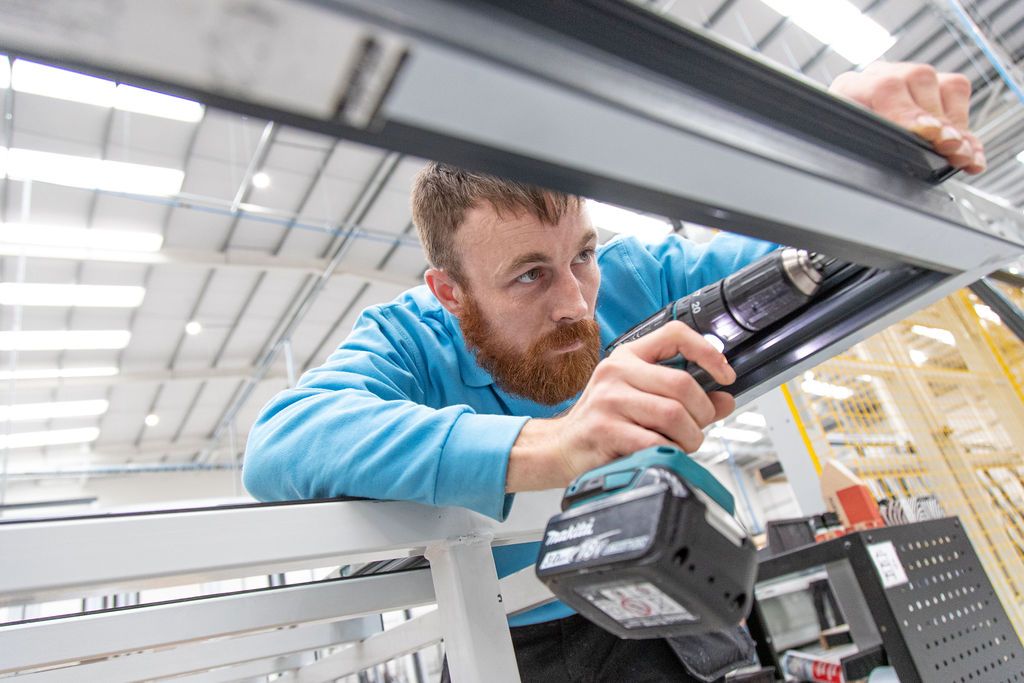
This is the hardest part and the bit where most of the mistakes occur. Every set of French doors will require ‘toe and heel,’ the fitting which supports the glass and keeps it level and supported. If this isn’t completed properly you’ll risk the door dropping and not be able to lock it. Finish by fitting the glazing bead and the wedge gasket and making any necessary adjustments to the keeps/receiver. AluFold sends professional glazing packers and the required shovel with every job but not every company does.

If this sounds relatively easy, please bear in mind that this is a rudimentary guide, not a detailed set of instructions. Not all French door manufacturers follow the same design, so you may have different things to consider. Plus, we’ve described a scenario where there are no errors or problems. It’s only too easy to lose a hinge or put something in the wrong place and small mistakes can cause big issues.
For this reason, we stand by our recommendation that you get a professional to do this. Installing your own doors is rewarding, but hiring an expert is the best option. If you have any queries, you are welcome to contact us. Our staff will assist you every step of the way.

Aluminium windows, doors and rooflights in any colour, delivered direct to site fast.